

Tomato seeds need to be fermented before drying and saving them. Fermentation occurs in nature when a tomato rots to give life to the next generation and dissolves the gelatinous, anti-germination coat on the outside of the seeds. It also helps kill any seed borne diseases that the plant may have had that could be transferred to the next generation. There are slight variations to the method, but this is how I have been taught from successful farmers and seed savers:
Select good quality tomatoes that you want to save seed from and a clean container. The size of the container will depend on how many seeds you want to save, but keep in mind that the seeds are pretty small, so a small plastic cup or medium-size mason jar will probably do the trick. If you are saving seed from more than one tomato variety, be sure to keep them in separate containers, and label the containers so that you know which is which. Note that only heirloom seeds will yield seeds that will produce the same variety the next generation.

Cut the tomato open and scoop the seeds into a container along with the jelly-like pulp that surrounds the seeds and the juice. You can use the flesh that is left eating or salsa making.
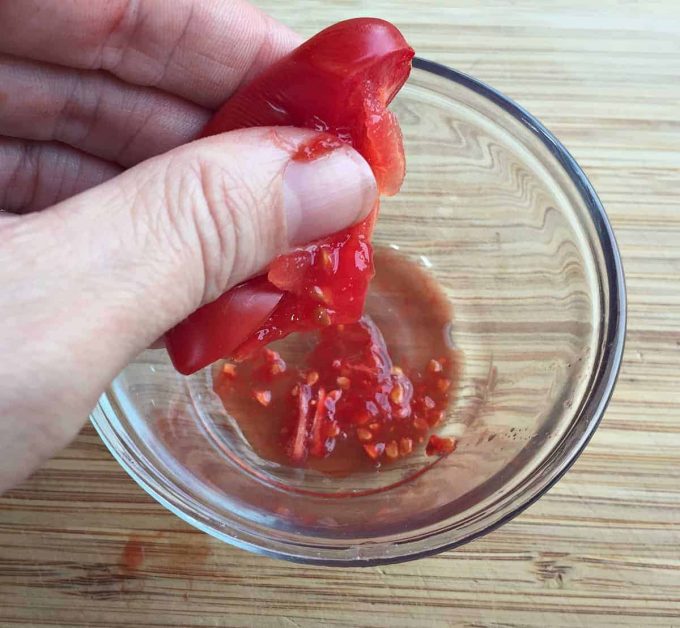
Add a little filtered water. As with any fermentation process, chlorinated water can harm the microbial balance. The amount of water depends on the type of tomato. Really large, juicy tomatoes will need little to no water added as smaller varieties may need much more.
The amount of water really doesn’t matter as long as you have plenty of pulp and juice and don’t add so much that the mixture becomes super diluted. I would say that I usually do not let the volume of water exceed the volume of tomato that was added. The more dilute the mixture is, the longer the fermentation will take, but it should still work.
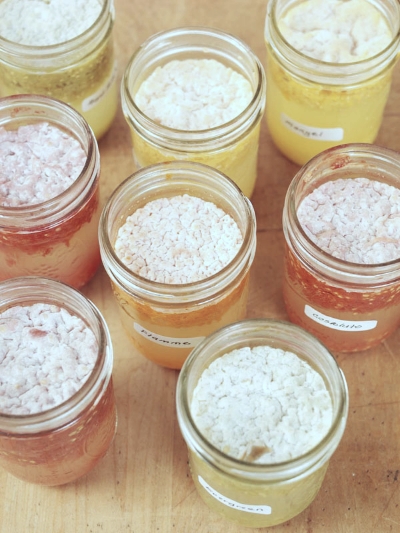
/about/SampleInJar-56a344375f9b58b7d0d12d88.jpg)
Let the container and mixture sit a few days in a warm, yet shady area . A film of white mold will develop on top. Stir the mixture and let it sit again for a couple more days. Depending on how much water was added, the fermentation could take up to a week. Just make sure you have a funky film of mold on top, and rest assured the fermentation has been completed. Speaking of the funky mold, I usually just throw it outside.

Rinse the seeds by pouring the rest of the contents into a mesh strainer and rinsing the seeds with water. If you don’t have a strainer, you can keep adding water to dilute the pulp and pouring the water and pulp mix off the top until you just have the seeds and a tiny bit of water at the bottom of the container. I don’t know how true it is, but it is said that the most viable seeds soak to the bottom.

Let the seeds dry for a few days. I lay the seeds on piece a of paper grocery bag or paper plate. Other people lay them on a coffee filter on top of paper towels so that the paper towels absorb the water but don’t stick to the seeds.
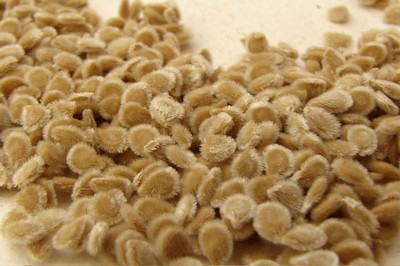
Notice that the gel coating on the seeds is gone and they are pretty and shiny. Transfer dried seeds to a container to be stored until they are ready to be used. Don’t forget to label the container.


